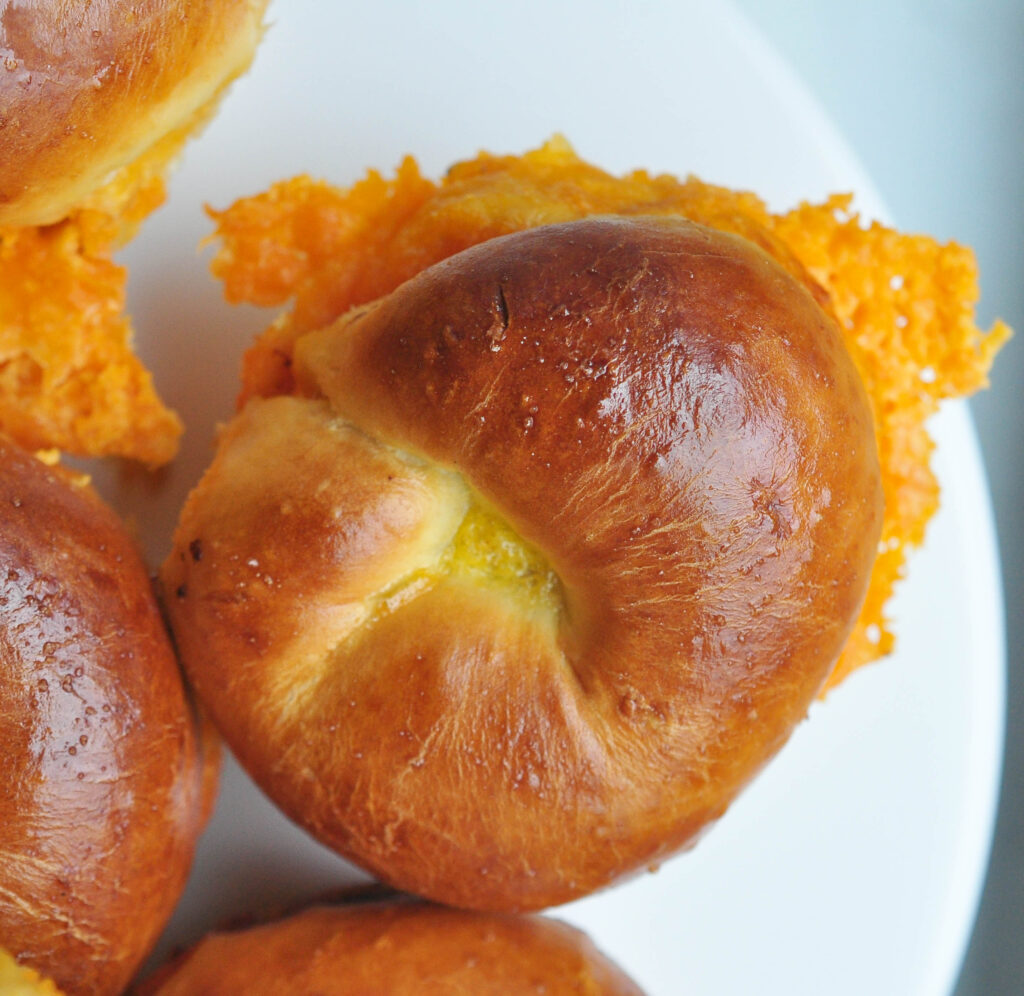
When I was a kid my Mum used to take us almost weekly to our favorite bakery, Bee Bell Bakery, in Edmonton, AB, Canada where I grew up. It was always jam-packed and smelled incredible. I loved looking in the glass cases at all the treats while my Mum took a number and waited to make her order. We rarely got the cakes or tarts that looked so exciting to me then, but very often my Mum would bless us with an order of the cheese buns. Cheese buns don’t really do justice to these incredible morsels. They were not round and domed like a traditional bun, but more the shape of a popover, and shot through with a ton of bright orange cheddar. The best were the ones that had cheese spilling out the side that had gotten baked and crispy. Or the ones where cheese had burst through the bottom and it was shiny with orange cheese grease, oh man.
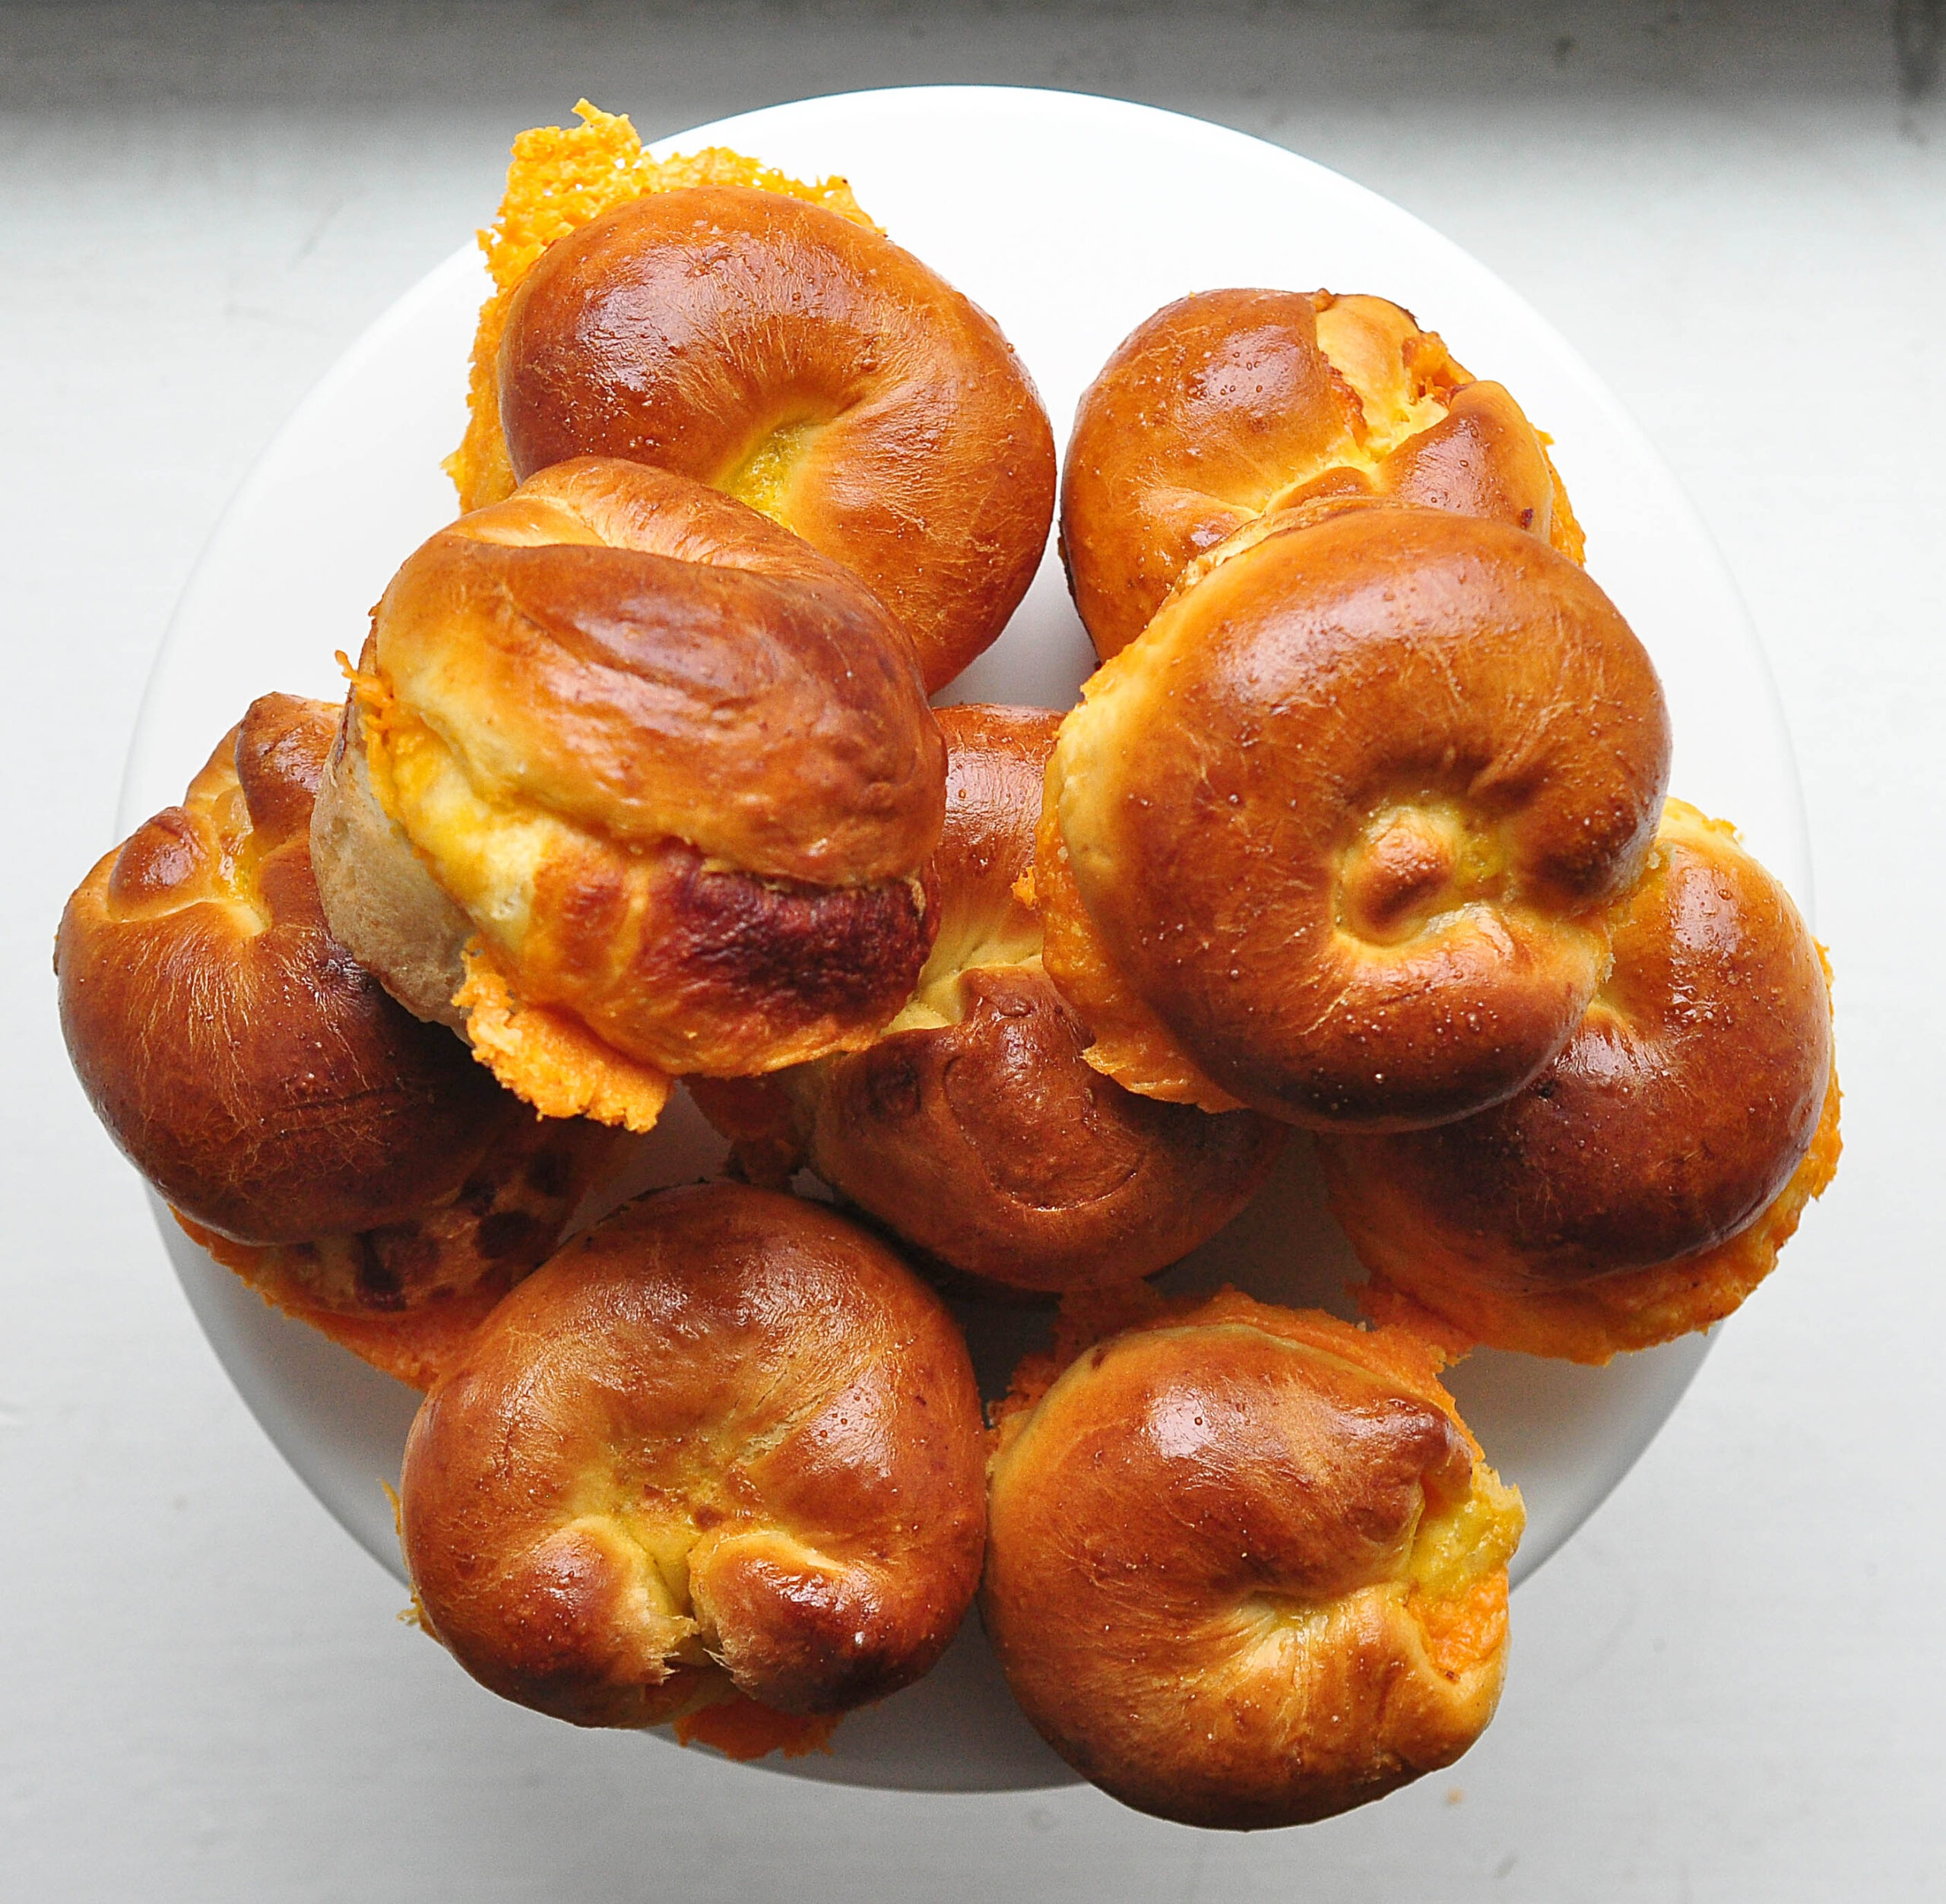
Sadly Bee Bell closed its doors a few years ago so no one can get these beautiful buns anymore. With my strong memories as guide I set out this week to make a copy-cat version at home and I am incredibly happy with the result. So today I’m sharing with you a lightly sweet brioche dough, stuffed with cheddar cheese and cooked in a muffin tin for the same crazy shape I remember as a kid. These are a special, uber-cheesy treat. They take a bit of time, but were fairly easy to shape and work with so don’t be afraid if you are a beginner baker.
I started with The Brown Eyed Baker’s recipe for Spicy Cheese Bread, changing the amount of liquid used to make a softer dough and then completely changing the shape obviously, but this recipe is strongly inspired by her wonderful work here.
You’ll want to be the one who makes these. Don’t get someone to make them for you. If you are the baker you get first crack at all that baked on cheesey goo. I don’t know what happened but as I was releasing these morsels from their tins the little cheese globs just kept finding their way into my mouth. So make sure you enjoy that particular pleasure yourself.

[ad]
Brioche Cheddar Cheese Buns
Ingredients
- 3 1/4 cups all purpose flour
- 1/4 cup sugar
- 1 Tbsp instant yeast
- 1 1/4 tsp salt
- 3/4 cup water
- 4 Tbsp butter melted
- 1 large egg
- 1 large egg yolk
- 12 oz cheddar finely cubed
- olive oil or butter for greasing tins
Egg Wash
- 1 large egg
Additions/Variations
- 3 scallions finely chopped
- 2 jalapeño or chile pepper finely chopped
- 2 tsp smoked paprika
- variety of other cheeses
Instructions
- In a large bowl add the flour, sugar, yeast and salt. Give it a quick stir just to blend the ingredients a little bit.
- In another bowl, add the water, butter, egg and egg yolk and whisk to break up the yolks until it becomes a frothy yellow liquid.
- You can make the dough either by hand or with a stand mixer so choose below which instructions to follow.
- If using a mixer: Using the paddle attachment, turn the mixer to low and slowly pour the wet mixture into the flour mixture until it comes together into a shaggy dough. Once the dough comes together switch to the dough hook and knead on a low-medium setting for about 5 minutes until the dough is smooth and elastic.
- If making by hand: Slowly pour the wet mixture into the flour mixture, using your hands or a wooden spoon, mix everything together until a shaggy dough forms. Once the dough is together in one ball, dump it out onto a clean, lightly floured counter and knead for 7 to 10 minutes or until the dough is smooth and elastic.
- Grease another large bowl lightly with olive oil or butter. Shape the dough into a ball and place it face down into the greased bowl, then turn it over so that every side of the ball is lightly greased. Cover the top of the bowl with plastic wrap and let the dough rise in a warm spot until it has doubled in size, 1.5-2 hours.
- Cut up your cheese into small cubes rather than grating it so you have larger pockets of cheese. Add any additions like chiles or scallions in with the cheese and set it aside in a bowl.
- Lightly grease 12 standard muffin tins with olive oil or butter.
- Once the dough has risen take it out of the bowl and place it on a lightly floured counter. Cut it into 12 evenly sized pieces. Place all but one of the pieces back in the bowl and cover with plastic wrap to keep them moist.
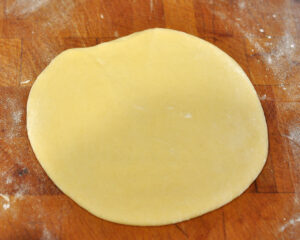
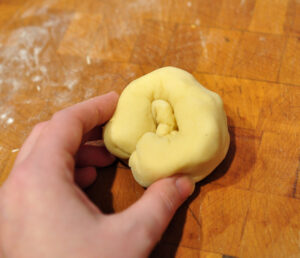
- Roll out one piece of dough into an approximately 5 inch circle.
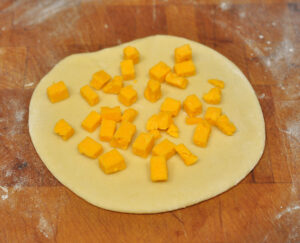
- Cover the circle with about 1 oz of cheese cubes (and any other additions you have chosen. Dan really likes it with scallions and thinks they are much better with that addition).
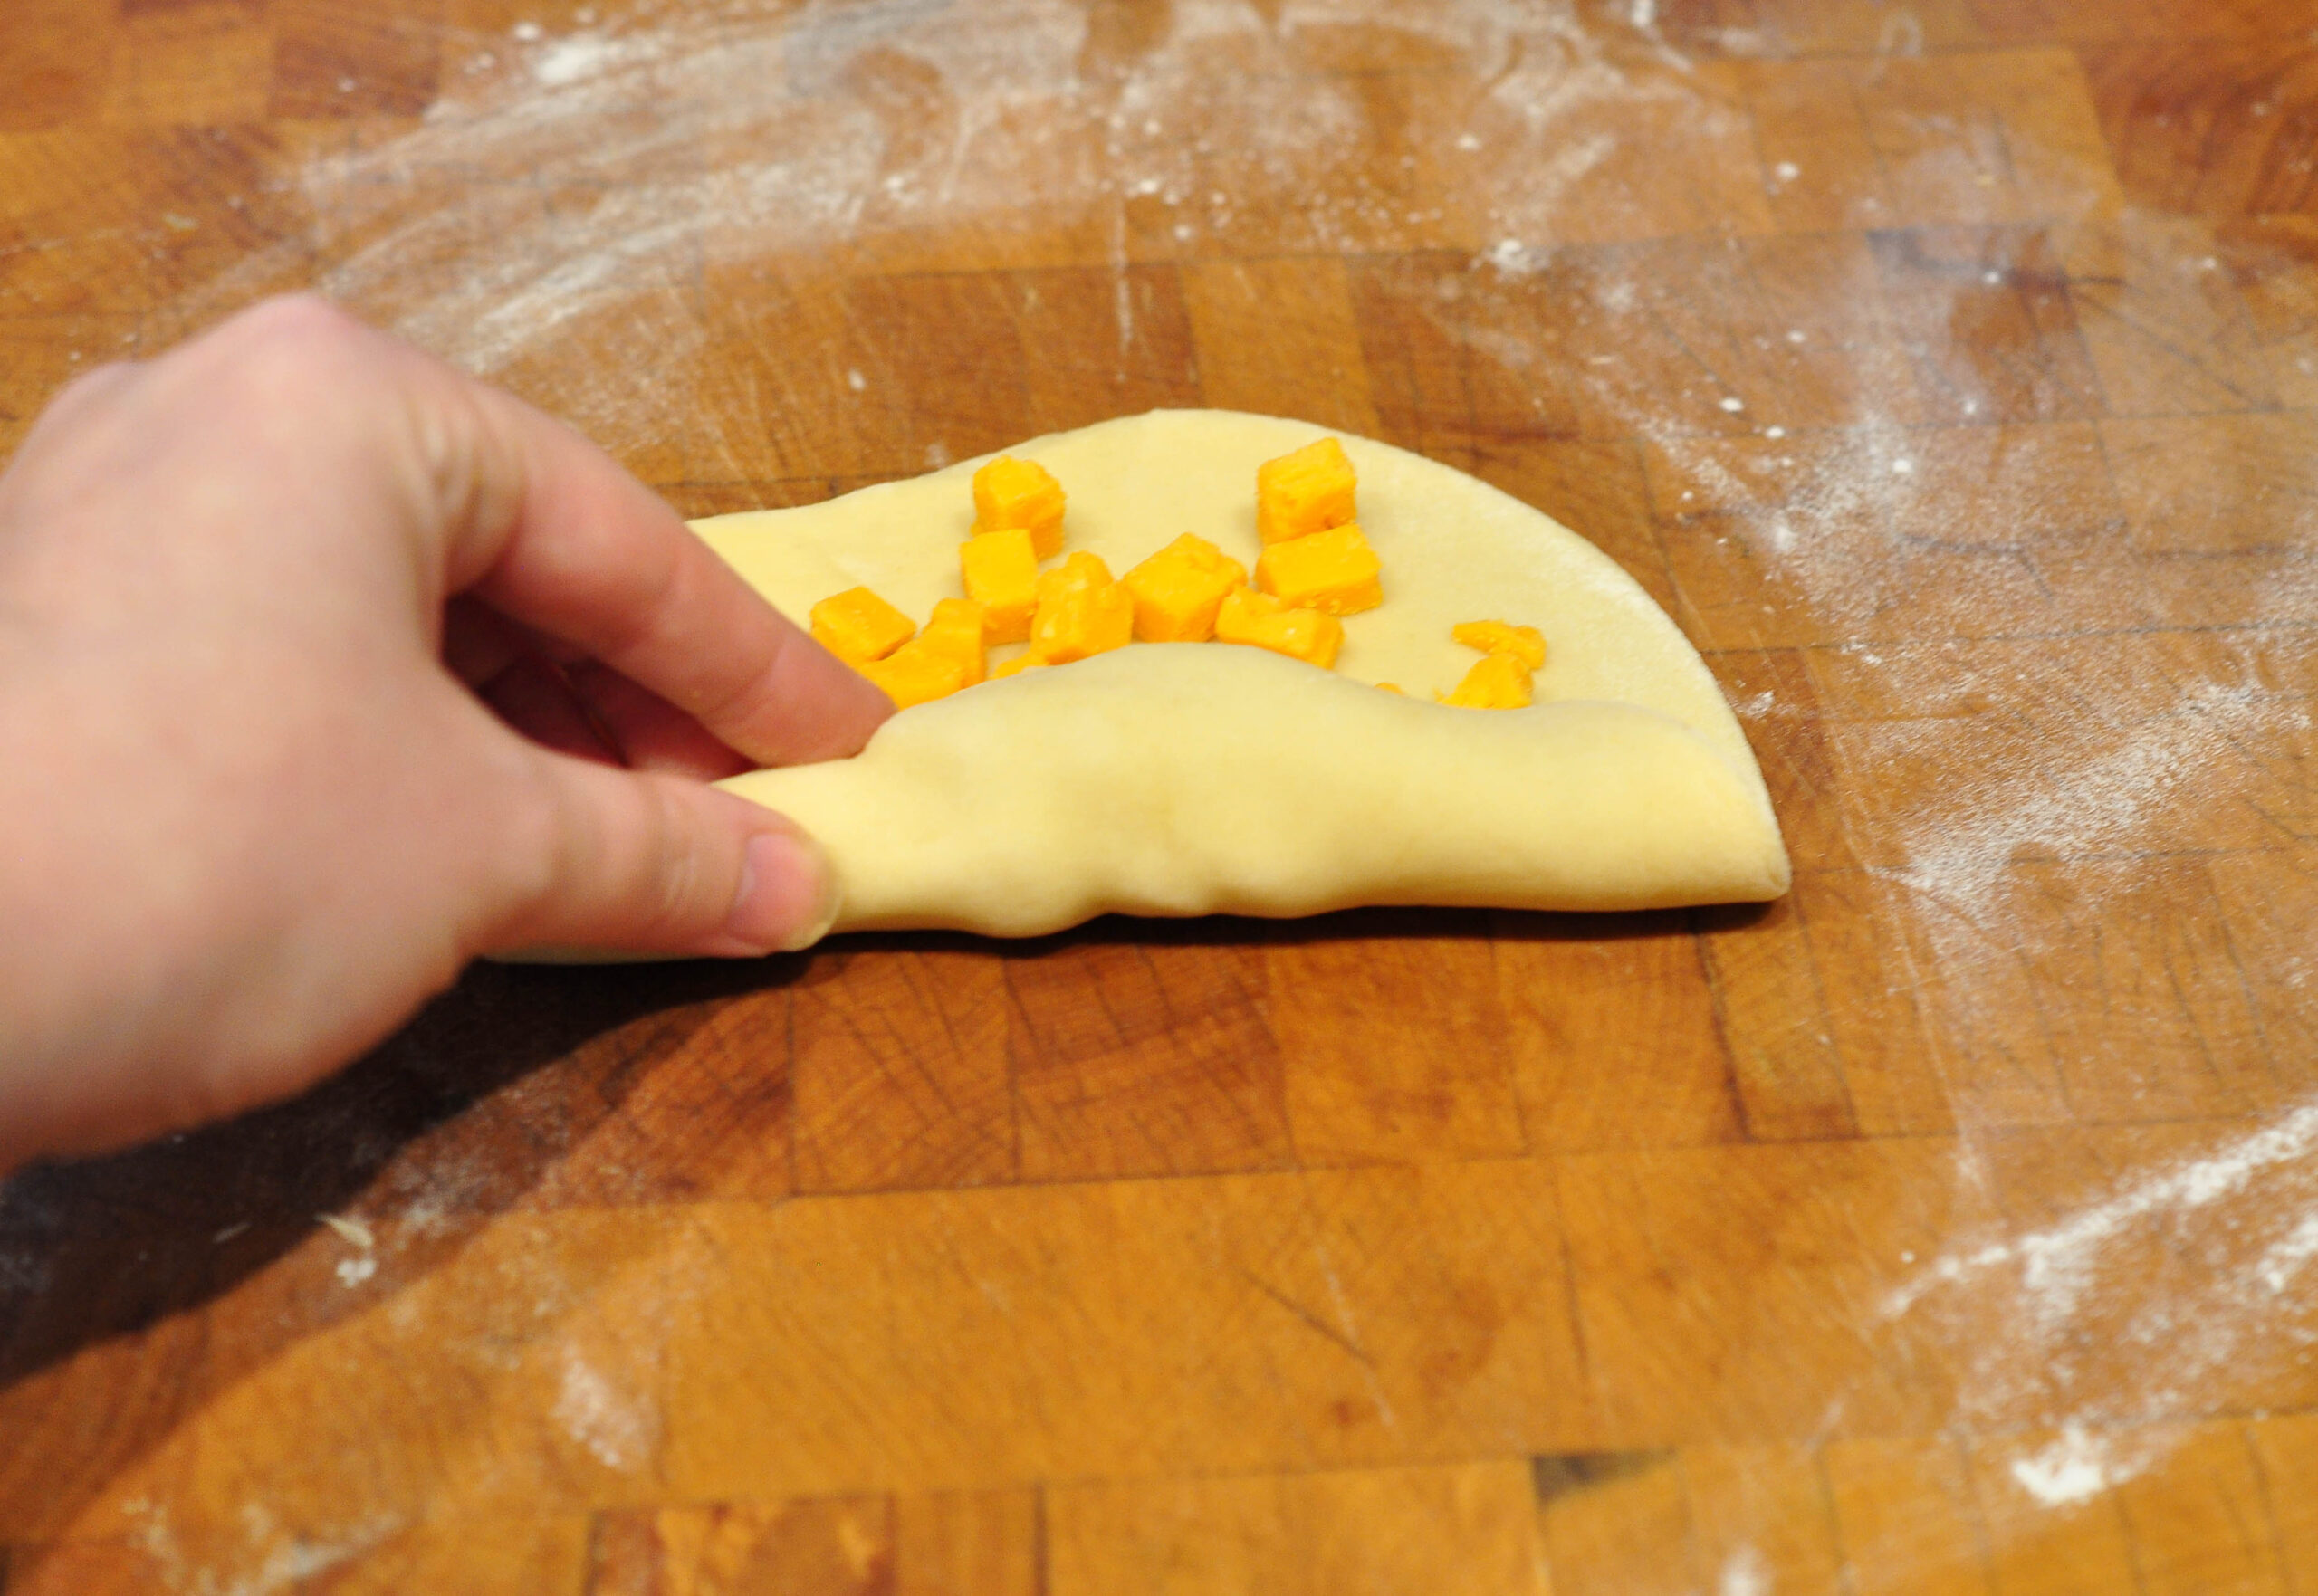
- Roll the dough up like a carpet with the cheese inside it.
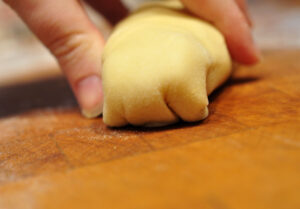
- Squeeze and pinch the ends of the roll shut to form a log.
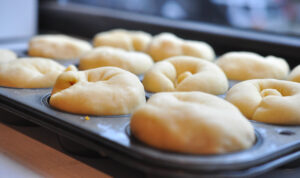
- Form the roll into a c-shape and press into one of the greased muffin tins. Repeat until you have stuffed and shaped all 12 buns.
- Cover the buns with plastic wrap and once again let them rise for 1 to 1.5 hours until they have puffed up to about 1.5 times their size. (the photo adjacent is after they have risen)
- Set the oven to 350 F.
- Make egg wash by whisking one egg in a small bowl.
- Once the buns have puffed up enough and are ready to bake, brush egg wash all over the tops of them generously. This will make them bake up golden brown and beautiful.
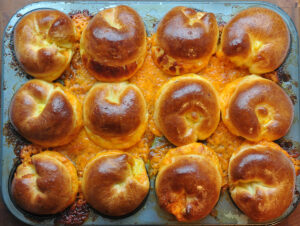
- Set the muffin tins on top of a larger sheet pan to catch any of the cheese grease that will inevitably drool out the sides of the pan (this will prevent it from burning on the bottom of the oven). Bake for 25 minutes.
- Remove the cheese buns from the oven and let them cool in the tins for at least 20 minutes. There will be a lot of hot, crunchy cheese that has exploded out of the buns and is baked onto the tray (yum!). Carefully remove them from the tins, using a butter knife to pry them up if required.
Notes