


I love making cocktails. It’s like discovering a whole other kind of cooking. A friend recently asked me how to make bitters, so after confidently claiming that it’s “super easy” I thought I should do some experimenting just to make sure.
I decided to make one sort of classic, everything-but-the-kitchen-sink-spicy batch, and one chocolate and chile, for which the recipe is below.
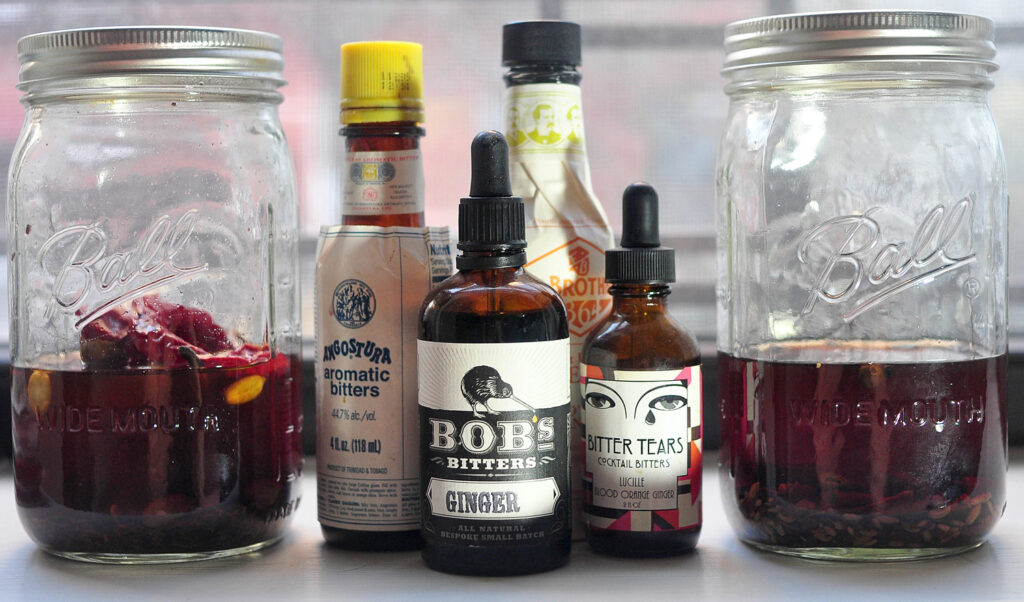
There are different schools of thought on how to make bitters at home. The basic method requires infusing a high proof alcohol, like regular vodka or something stronger like Everclear if you can find it, with a lot of aromatics until it becomes super strongly flavored. It takes time, but not much effort.
There are those who simply add all the aromatics at once and let it infuse together. Then there are those who make many small batches, infusing orange peel in one jar, peppercorns in another and ginger (or whatever!) in another. Then, like an apothecary worker or a wizard, you mix each “tincture” together to form your own signature bitters blend.
I love the second method in theory. Since different herbs and spices take different lengths of time to infuse, you would have more control over the final product. Plus the whole wizard thing appeals, but frankly, I don’t have 20 small jars just kicking around. So simple it is, at least this first time.
Chocolate and Chile Bitters


Ingredients
- 2 - 3 dried red chiles
- 2 Tbsp cocoa nibs
- 1 Tbsp green cardamom pods
- 1 1/2 cups vodka or high proof grain alcohol
Instructions
- In a mortar and pestle pound the chiles, cocoa nibs and cardamom pods just enough to break them up and release their aromas. Pour them into a jar with a tight fitting lid, a canning jar is best. Pour the alcohol over the spices and seal the jar.
- Leave the jar for 2 to 4 weeks shaking it once each day.
- When ready to use, line a strainer with cheese cloth and place it over a bowl. Pour the mixture into the bowl through the strainer. To get every last drop of the good stuff grab the cheese cloth and squeeze all the liquid out into the bowl.